 |
| Exterior Now - New Primer and Paint |
"BEFORE" - What she looked like the day we brought her home.
 |
BEFORE - Interior
DURING - Applying shellac
Prepping for primer and new paint. Windows removed.
Masking off the windows and feather emblems.
Street-side - Masked off.
Sanding off the old Roadrunner decal. Only one partial decal remained, and it was in bad shape.
Sanding primer applied.
Sanding the primer.
Ready for paint. Tires are being changed out so they were not masked.
First coat of paint has begun!
First coat of paint.
Paint.
New body paint. Windows reinstalled with new putty tape and screws. Emblems masked off and sprayed out.
New emblem paint.
Not perfect, but perfectly adorable.
Street-side emblem.
BEFORE: Windows were all pulled, putty scraped, cleaned, and new putty tape installed prior to reinstall.
Windows cleaned.
New putty tape.
Installed.
The screens were all cleaned prior to reinstall. Here they are drying after spending some quality time being scrubbed.
INTERIOR WORK
Here you can see the difference with just one coat of amber shellac. The ceiling at top of picture has yet to receive it's first coat. The interior walls, ceilings an cabinet exteriors will all receive three coats.
Wardrobe closet interior - looking towards front of trailer. The front dinette seats are removed at this point for refinishing.
Second coat of shellac at front dinette area.
Interior of overhead cabinet at front, curb-side.
Interior of overhead cabinet at front, street-side.
Upper rear bunk removed to apply shellac. (None at ceiling as yet).
Other side - Upper rear bunk removed.
Another view.
Rear Bunk face frame and bed ready for refinishing.
The sewing machine made a great sawhorse.
The face frame is done.
Cabinet doors and drawers - Before
After three coats of shellac.
The New Old Stock Vintage Chrome Cabinet Handles
A house full of trailer. Kind of blends in with the walls!
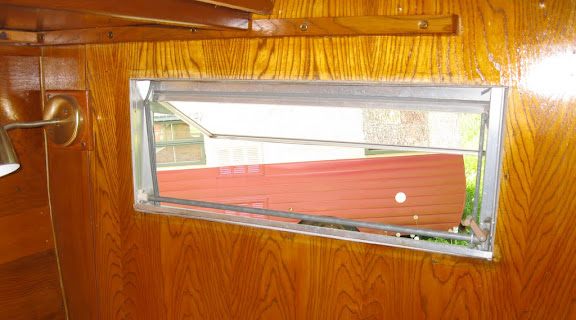
Interior - Rear window and ceiling.
Rear - Street-side.
Interior of left kitchen upper cabinet.
Interior of right side upper kitchen cabinet.
Ceiling vent.
Dinette frames ready to reinstall.
Another view of the ceiling and vent.
Two coats of finish at left, three coats of finish at right.
|
Close up of the ceiling vent. I have never seen such a pristine piece of wood around a vent before....it is amazing. We did not pull it. We decided that whatever it has is apparently a superior factory installation. We will just let it continue doing what it is doing, which is NOT leaking. ;)
 |
Ceiling - View towards front / dinette area.
Window Interiors - Before & After New Wood Trim
Window before trim - front street-side,
Window after trim - front street-side.
Window before trim - front curbside.
Window after trim and curtain rod - front curb-side.
Front window before trim.
Front window after trim.
Window before trim - rear street-side.
Window after trim - rear street-side.
Window before trim - rear curb-side.
Window after trim - rear curb-side.
Window after trim - rear.
Kitchen - curtain rod installed.
Wood trim with curtain rod. Rods are original rods, spray painted in chocolate brown.
|


No comments:
Post a Comment